


The , Decathlon is not an Indian brand. It is an French multinational retailer of sports products founded in the year 1976 in Lille, France in the name of Michel Leclercq. The company...

This International Day of Conscience, celebrated every year on April 5 and serves as a global reminding of the role of conscience in encouraging peace and...

International Mother Earth Day which is celebrated annually in the month of the 22nd of April and is a worldwide call for action to help protect our planet and...

The answer is yes, FirstCry is an Indian brand. FirstCry is the largest online retailer of baby and children’s products. It was founded in India in 1999, the...

Dettol is not an Indian brand. It is an international brand controlled by Reckitt Benckiser (RB) which is which is a British multinational corporation that specializes in consumer hygiene, health,...

When you’re creating a meaningful song, writing powerful poetry or composing appealing advertising slogans, identifying the word that rhymes with me can unleash your creativity. This guide gives a complete collection...
The pookie meaning goes beyond being a cute name. It’s also a term full of warmth, love and an ever-changing cultural significance. If you’ve ever encountered it...

Raviakp Twitter, a well-known celebrity on Twitter has built up an enormous following due to his entertaining content and influential presence. This article explores the strategies, journey...


Welcoming you to Bollyflix your favorite site to download the latest Bollywood films as well as web series and K-drama at no cost until 2023! Discover the...
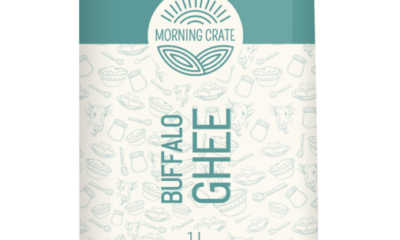

Ghee, an essential component of Indian cuisine, has been celebrated for its rich flavors and numerous health benefits for centuries. With its deep roots in tradition,...


![[pii_email_73a54783f61c31a18711] error](https://explodyfull.com/wp-content/uploads/2022/05/pi-80x80.jpg)
![How to solve [pii_email_4dbb03acbeec58b4388f] error](https://explodyfull.com/wp-content/uploads/2022/06/Stream2Watch-1-80x80.png)